How to Make Homemade Fishing Lures: A Step-by-Step DIY Guide
Hi there, angler. Do you want to know a secret trick to take your fishing game to the next level? Create homemade lures and catch more fish! Fishing is a relaxing activity until we get a big fighter on the hook, but it requires you to be out on the water. Another relaxing fish-related activity you can do when the weather is terrible and you want to stay indoors is making fish lures. If you need help figuring out where to start, read this article, and we will explain the lure-making craft in simple step-by-step instructions on how to make a fishing lure.
If you are eager to start, check out the quick guides first.
How to Make Wooden Fishing Lures Quick Guide

To make a wooden lure, you will need materials. First, get a piece of wood that is at least 1/2 inch bigger than the size of the lure you want to make, which will give you room to carve and shape the wood to the desired size. You will also need a saw to cut the wood down to the desired size and a drill for making pilot holes for the lead and hooks. The sandpaper will be necessary for smoothing out the wood, and an epoxy resin can be used as a sealer to prepare the wood for painting. Lastly, you need eye screws and hooks to attach to the pilot holes, to make the lure ready for fishing.
Design the lure
- Design your lure. Decide whether you want a topwater lure or diving bait.
- Topwater lures: make a popper, stick bait, propeller bait or splutterbait
- Diving baits: make a plug, thin minnow, curved minnow or deep-diver
- Consider using a template or pattern for your lure
- Choose a lure size that matches the fish you want to catch
- Select a solid but lightweight wood for your lure, such as balsa, cedar, or pine for topwater lures – or ash, maple, or oak for diving lures.
Cut the wood to a lure shape
- Purchase wood that is at least 1/2 inch bigger than the size of the lure.
- Sketch the shape of the lure on the sides of the wood, either by using a template or by drawing it freehand.
- Put on a dust mask and protective glasses when cutting wood, and prepare for the dust and fragments kicked up during the cutting process.
- Use a scroll saw or band saw to cut along the pattern lines, or gradually whittle away the wood around the outline using a carving knife.
- Carve out the shape of the lure with a knife, and etch patterns and designs into the wood if desired.
- Sand down the wood with 80-grit sandpaper, and double-check that the lure is the proper size you need.
- Finish smoothing out the lure with 120-grit sandpaper, and use a tool like a belt sander if desired.
- Repeat the sanding process with 220-grit sandpaper.
- Sand the lure with fine-grit sandpaper to smooth out any remaining rough edges.
- Drill 3/16 inch pilot holes for the lead and hooks through the center of the lure’s nose or groove if making a popper.
- Make a second hole through the back end.
- Flip the lure over and drill a hole about ⅓ of the way from the front end.
- Refer to your template when positioning the pilot holes, and consider the type of lure you are making.
- Most lures have at least 2 hooks—one on the back end and another near the front.
- Consider adding a third hole ⅓ of the way from the back end for an additional hook if the lure is long.
- Drill additional holes to add weight to the lure, such as for a sinking lure.
Paint the lure to mimic a fish
- Wipe the lure clean with a tack cloth or a microfiber cloth if you don’t have a tack cloth.
- Apply a clear sealer to the lure to prepare it for painting, and spread it over the entire lure in a thin but consistent layer.
- Wait about 20 minutes for the sealer to dry, or check the manufacturer’s recommendation.
- Apply a base coat of primer to the lure with an airbrush, and match the primer to the paint and sealer you use.
- Wait about 30 minutes for the primer to dry.
- Paint the base layers of the lure first with a brush or airbrush, and select bright, vibrant colors that stand out against the sky.
- Add any details you wish to paint onto the lure, including darker colorings and features like eyes.
- Before applying a clear sealer, wait about 30 minutes for the paint to dry.
- Wait for the sealer to dry, and add weight if necessary.
How to add hooks and weights to your lure
- Screw 1⁄4 in (0.64 cm) screw eyes into the pilot holes using closed screw eyes, which are screws with a hanging loop on one end.
- Make sure the screws are slightly wider than the pilot holes for stability.
- Attach hooks to the screw eyes using split rings, threading a treble hook onto one end of each ring.
- Use split-ring pliers to connect the split rings to the hooks and screws.
- Add weight to the lure with ballast like BB ammo, buckshot, or small split shot, and fill the hole with wood glue or waterproof putty.
- Use a carving knife to notch a slot horizontally across the nose of the lure for diving lips, gluing it in place with epoxy and allowing it to cure for at least an hour.
- Angle the notch so the lip will point downward after you plug it in.
- Position the lip underneath the ring used for the lead or drill through the center of the lip and add the ring to it.
For more details and frequently asked questions, continue reading the rest of the article.
How to Make Your Fishing Lure out of Aluminum – Quick Guide

Before you get started, you need a few materials. The most important thing is a piece of aluminum, which can be a spoon from your kitchen drawer, a soda can, or a large bolt or screw will also work. Also, you need a metal file to shape the aluminum, sandpaper to smooth it, a drill to make holes for the hooks, and pliers, a swivel, and hooks.
Step-by-step instructions:
- Cut off the bowl end of a spoon using a hacksaw
- Smooth down the edges of the spoon using a metal file or an emery cloth
- Drill 2 holes on opposite ends of the spoon, which is where the hooks go
- Use pliers to attach split rings to these holes; use size 0 or 1 split rings
- Attach a hook to one end and a swivel to the other
- Use needle-nose pliers to fasten the hook and swivel to the lure
- Lures made of spoons should have at most 2 hooks to maintain the correct weight and balance.
Learn How to Make Fishing Lures From Simple Household Items – Quick Guide
To make a DIY fishing lure from things you find at home, you need the following items: A piece of cork, a penny, a bit of paracord, pliers, eye screws, a rolling mill, a knife, a drill, a hook, rings, and a swivel. Using these simple items makes it possible to create unique and effective fishing lures, which are super cheap. Here are a few ideas:
- Make a lure out of a piece of cork by screwing eye screws on the ends and attaching hooks and a swivel
- You can paint the lure to make it more attractive to fish
- Flatten a penny using a rolling mill, hammer, and anvil, or a coin-flattening machine, then attach split rings and hooks and swivel
- Turn a length of paracord into a lure by pulling out the inner strands, inserting a hook, and fusing the top with a blowtorch or lighter
- Tie a piece of the inner strand from another length of paracord around the center of the lure
- Flush out the inner strands of the paracord to make it more alluring to fish.
How to Make Your Own Fishing Lure

When most people think about making fishing lures at home, they picture making fly fishing lures. But you don’t have to do fly fishing to make lures; you can make any fishing lure with imagination, creativity, and skill.
Fishing is fun and relaxing, but have you ever thought about taking it to the next level by making your own lures? Not only is it a fun and creative process, but it’s also cost-effective and can lead to catching more fish. But where do you start? Don’t worry; we’re here to guide you through the process of how to make lures for fishing.
Materials and Tools Needed to Make Homemade Fishing Lures
To make your lures, you’ll need materials such as plastic or wood for the body, paint, glitter, hooks, split rings, eyes, pliers, scissors, and a drill or lathe (optional). You can find these items at craft stores or online, and for beginners, kits with all the necessary materials and tools are also available.
Different Types of Lures

If you’re tired of using the same old boring lures that everybody else uses, bought from the same fishing store in town, and want to up your game, you can create fishing lures from all types of materials. Your creativity only limits you. Making homemade lures is easier than you think, and you can make them unique to your specific needs (weight, size, color, style, fish, feature, etc.). Here are a few ideas to get your mind going.
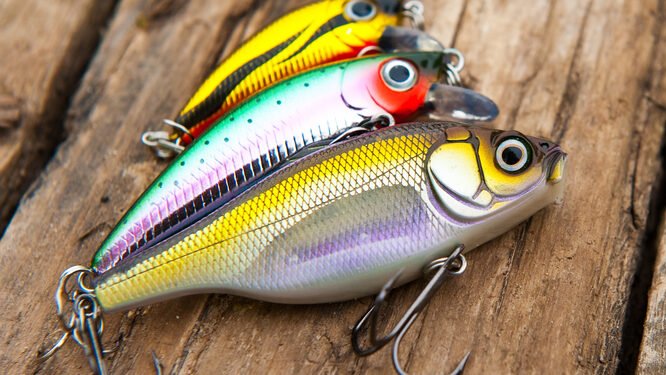
Hard plastic lures
These are great for beginners as you buy a blank lure, use a pencil or marker to draw a design, and use a drill to design and carve your own DIY plastic lure easily.
Feather lures
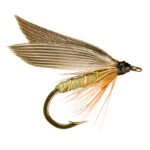
Feather lures are more complex than plastic ones, but they are worth it. You need a hook, a few feathers from wherever you buy those, and some adhesive to glue the feathers to the hook. You can always experiment with adding beads, glitter, or paint to make it more alluring to the fish.
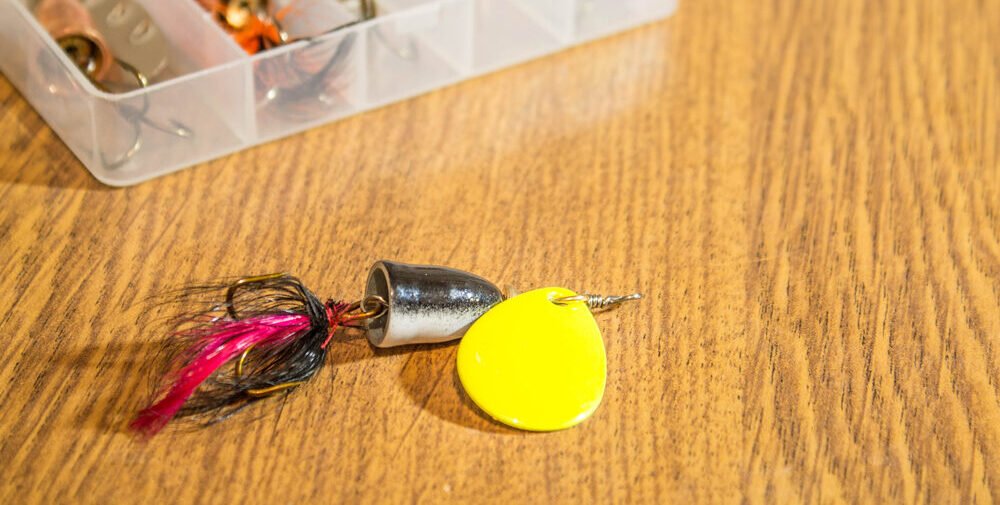
Spoon lures
Everyone has a spoon at home, right? You can grab one from the kitchen drawer and glue a hook to it, and you’re good to go. Some people like to cut off parts of the spoon (sometimes too big or too long) and add unique designs, paint, or patterns. Also, test how it moves through the water when you attach it to the line.
Jig lures
Jig lures are practical and work great for catching many types of fish. Jigs are vertical with a weighted head. When they move through water, they make a jigging, jerky, or jumping motion up and down to allure the fish. To make one, you need a jig head, a softer plastic body, and a hook to make a jig lure. You can paint it however you like and try different colors and sizes to see what works best in your scenario, and the fish will be jumping out of the water to bit it.
Conclusion
As you can see, creating DIY lures can be fun, relaxing, and affordable. You don’t need a lot of fancy equipment or materials, as you can make one with simple household items, a hook, some glue, and paint, and you’re good to go. There are endless alternatives for materials, colors, and techniques to create the perfect lure; the only limit is your imagination. Enjoy.